Quick answer
Start with measurements, then check the route.
Use hides to create several visible and maintainable routes rather than one inaccessible pocket. Keep intended openings exposed, build plants and substrate around a stable base, and leave enough access to inspect and clean the layout as roots grow and the aquascape changes.
Create shelter at more than one level
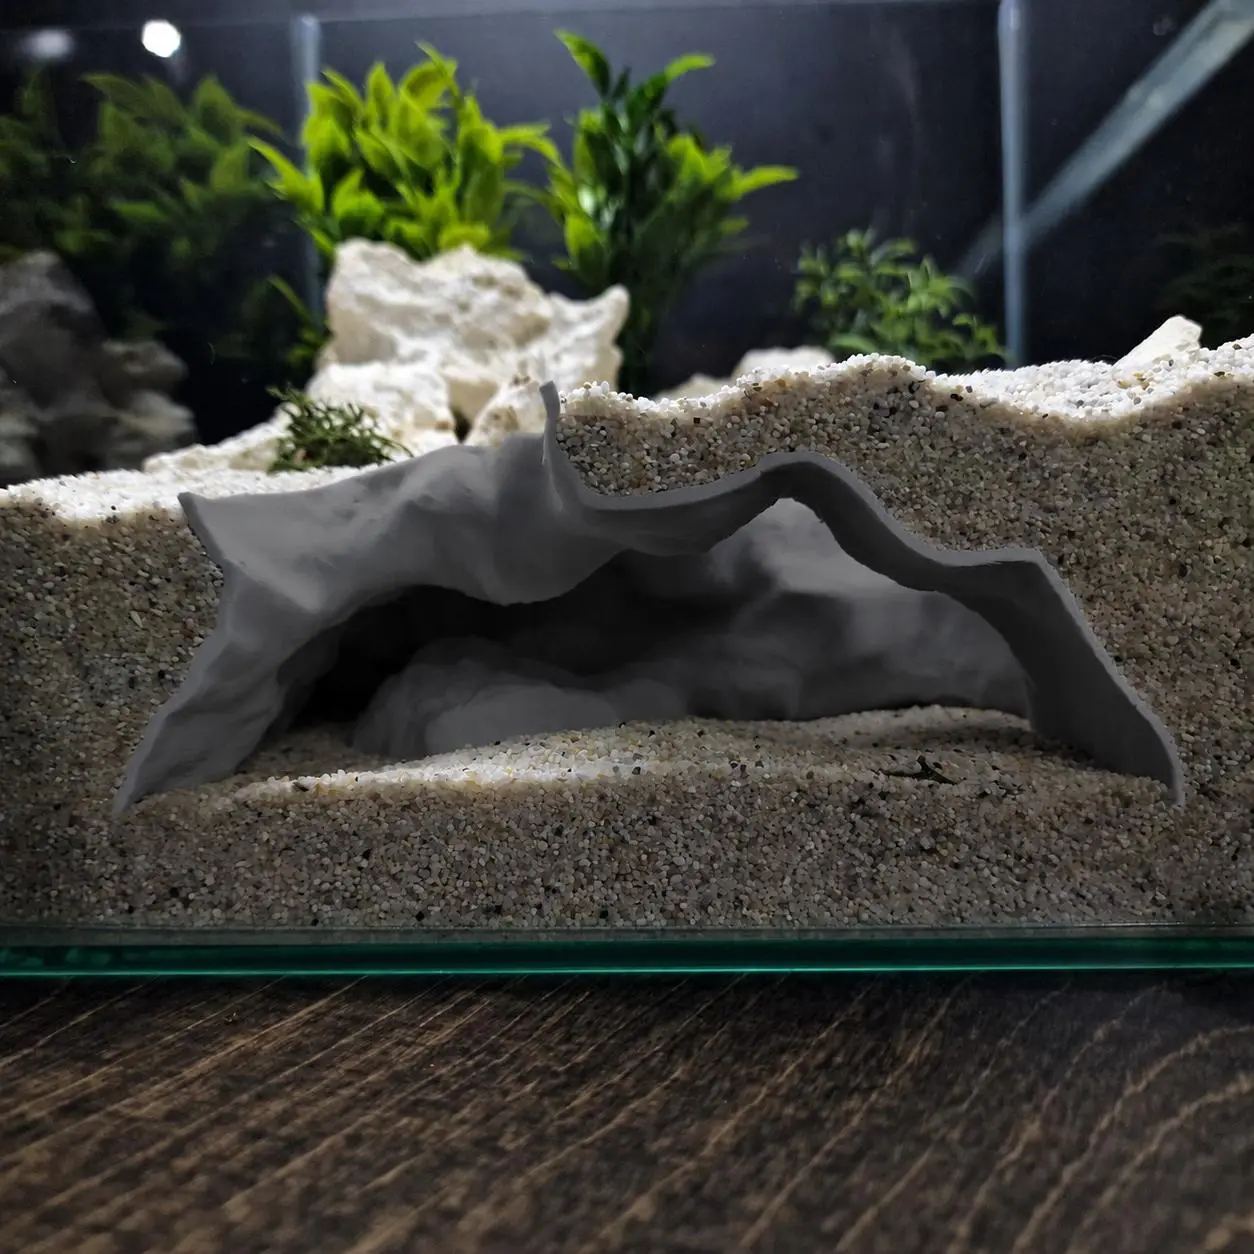
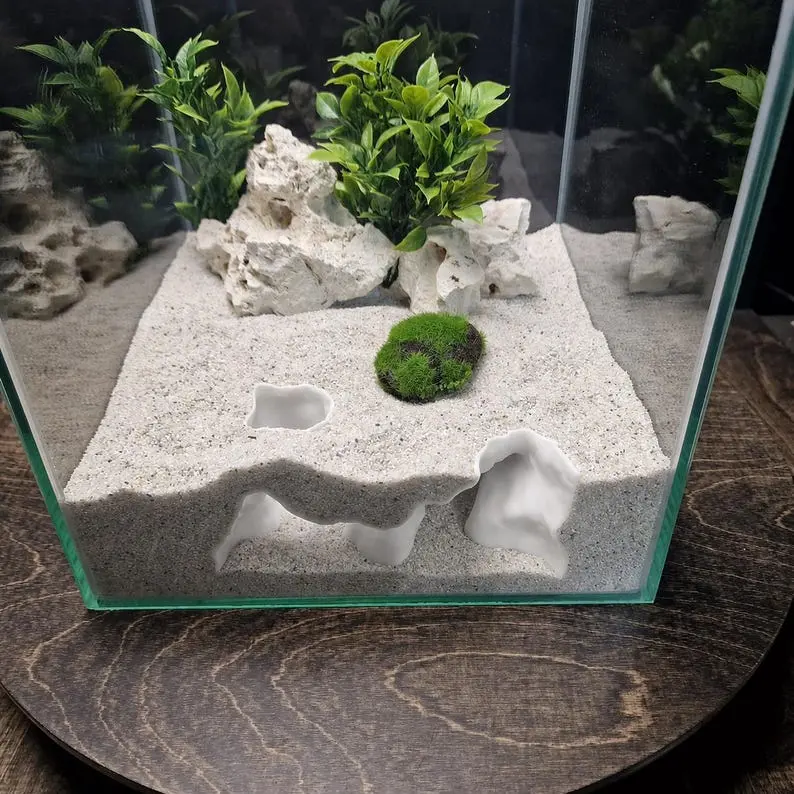
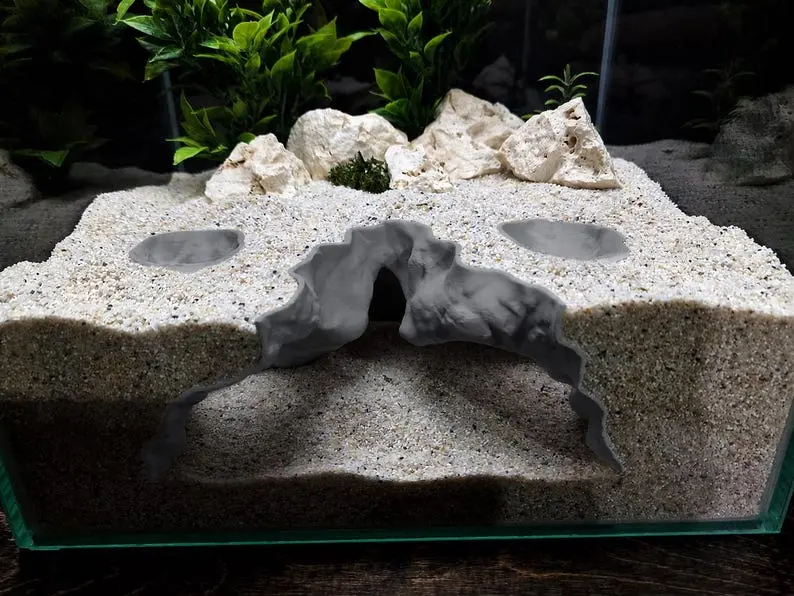
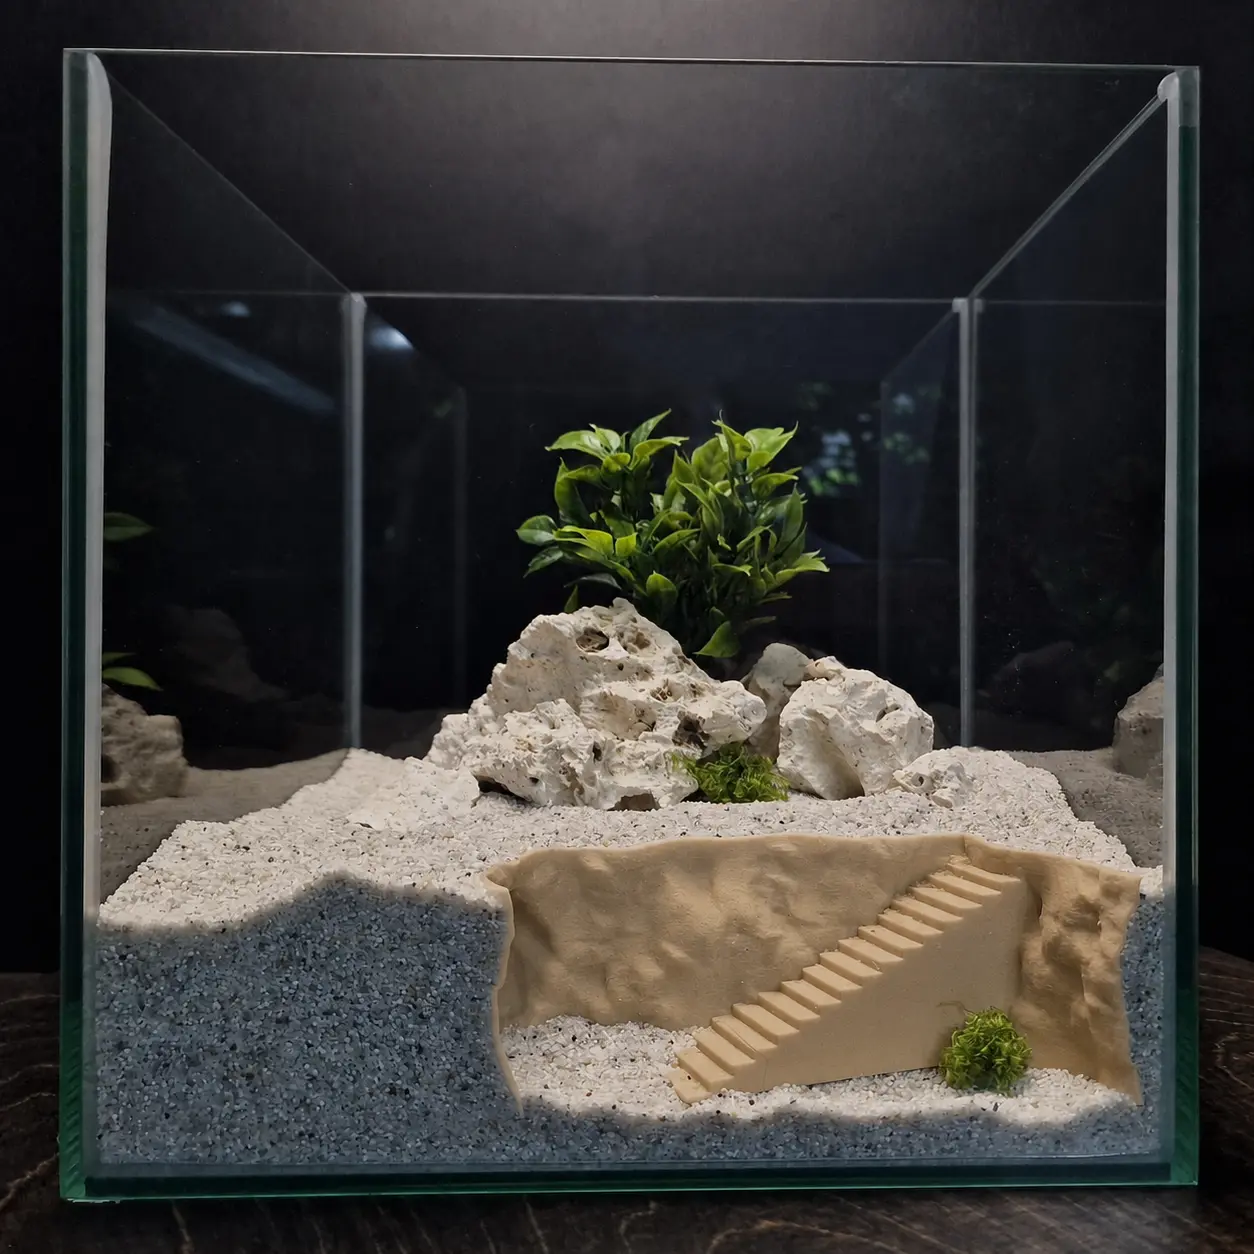
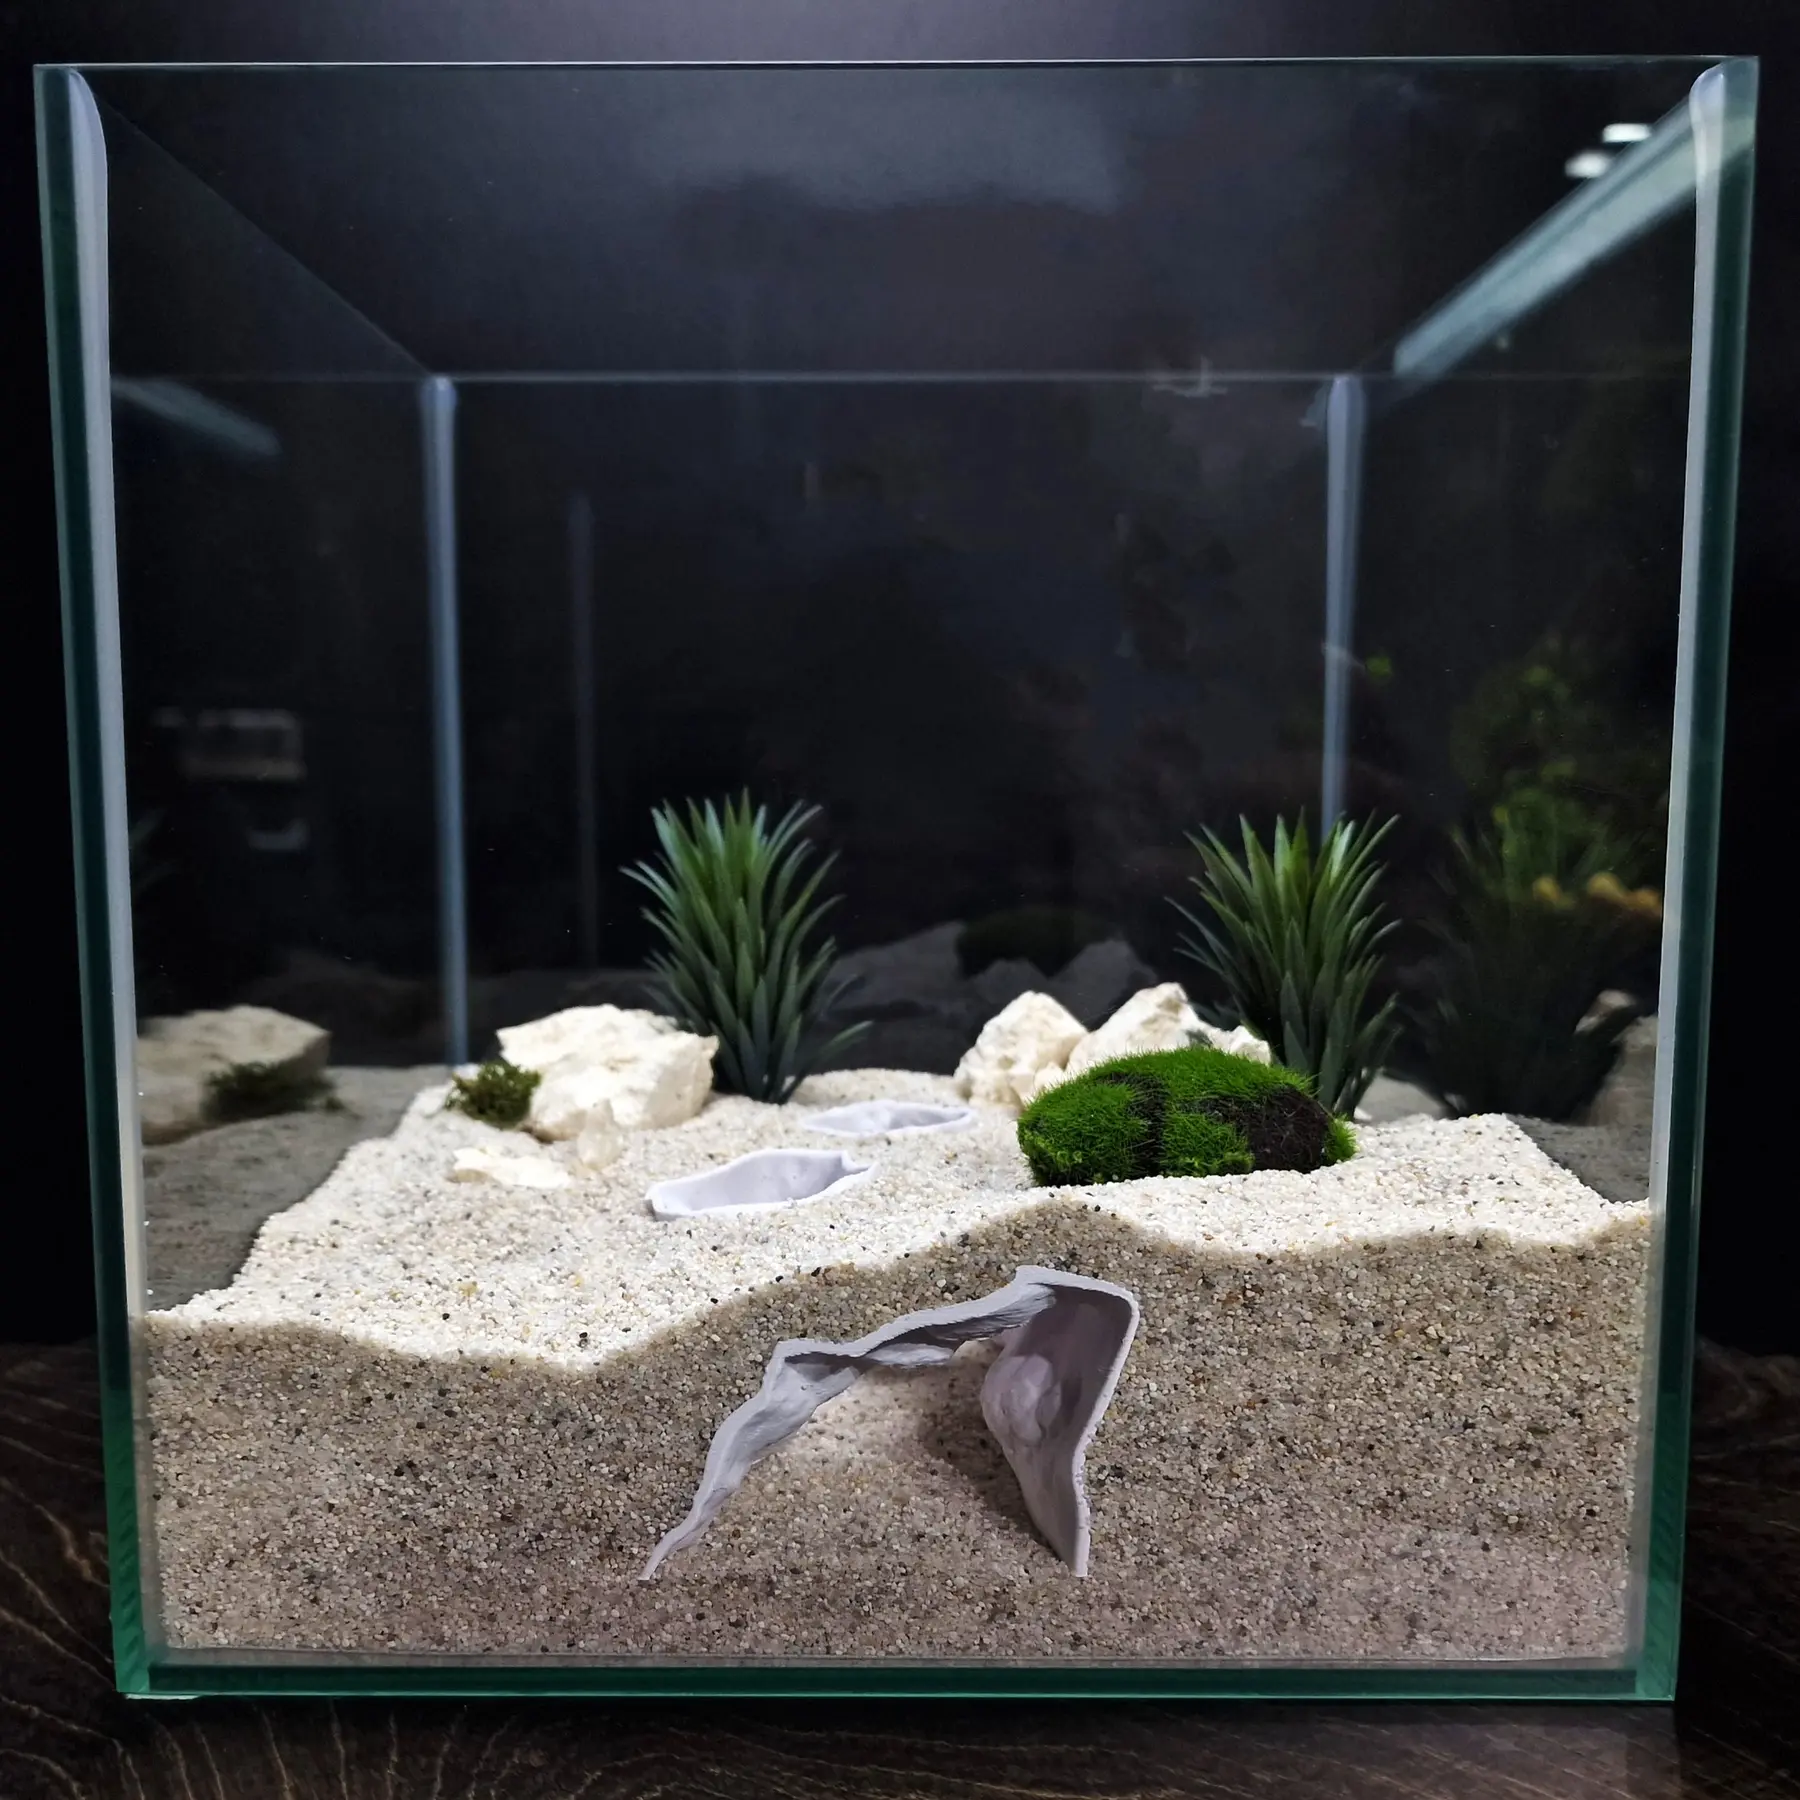
A shrimp aquascape can use the substrate line, plant edges, low tunnels, and open rock-like forms to create depth without turning the entire tank floor into one enclosed area. The goal is a layout with several understandable routes and surfaces that remain visible enough to inspect.
Before adding décor, mark the footprints of the proposed pieces and check how much open foreground remains. One larger multi-opening hide may create enough structure, while a longer tank may benefit from smaller sheltered areas in separate zones.
Use low or buried routes only when their intended entrances can remain exposed after the substrate settles.
Place shelter near growth without letting roots or dense stems permanently conceal every route.
Preserve visible floor space so the layout stays easy to observe, feed, and maintain.
Favor clear routes over an unreachable hidden pocket
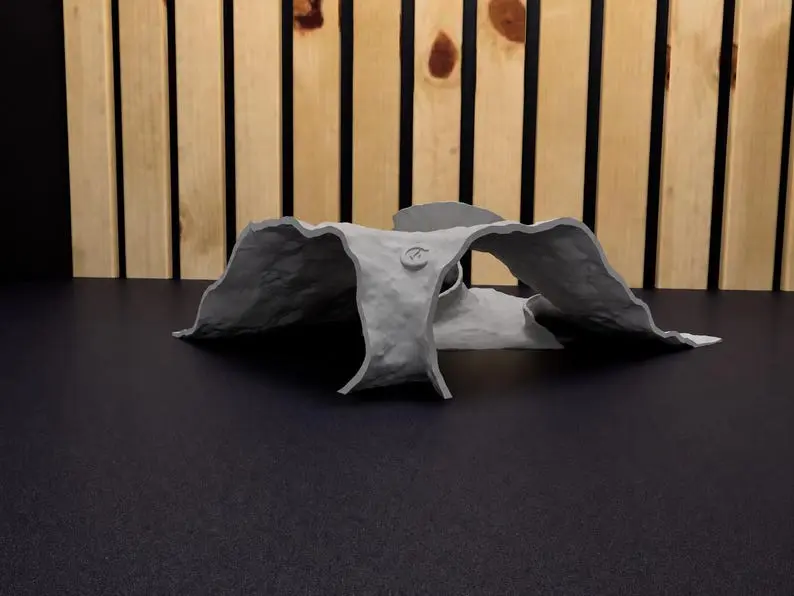
Multi-opening and tunnel-style forms can create protected structure without depending on one entrance. Keep each intended route facing open water and avoid positioning a cave mouth directly against glass, stone, equipment, or a steep bank of loose substrate.
A very small opening is not automatically a better shrimp hide. It still needs to remain clear, cleanable, and appropriate for the individual animals using it. Review the actual product photos and dimensions instead of relying only on a category label.
Account for shifting substrate and growing plants
Sand and fine gravel can move during filling, water changes, cleaning, and normal activity. Install under-gravel pieces on a stable base, add substrate gradually around the body, and recheck every entrance after the tank settles.
Plants can make a shelter feel integrated, but roots, moss, and stems may narrow routes over time. Trim or reposition growth before it makes the interior impossible to inspect or creates a debris trap around the cave.
Leave a practical route for maintenance
Place each hide where you can siphon loose material near the entrances and reach the surrounding edges with normal aquarium tools. Nearby hardscape should support itself so the shelter can be removed for a deeper inspection without destabilizing the rest of the layout.
During routine care, watch where food and plant debris collect. Adjust the position if material repeatedly settles in a gap that cannot be reached rather than allowing the hidden area to become progressively harder to maintain.
Let the shrimp and the changing aquascape guide adjustments
Rinse new décor with clean water, secure it, and observe the first days of use. Different shrimp, tankmates, and layouts may use the same structure differently, so treat the initial arrangement as a plan to evaluate rather than a guarantee.
Recheck openings, stability, plant growth, and debris during regular maintenance. Remove or reposition any piece that becomes damaged, sharp, unstable, clogged, or too difficult to inspect as the colony and aquascape change.